In this guide, we will install the LAMP stack on the Ubuntu 18.04 server.
Prerequisites
To complete this tutorial, you will need to have an Ubuntu 18.04 server with a sudo-enabled non-root user account and a basic firewall.
Step 1 — Installing Apache and Updating the Firewall
Install Apache using Ubuntu's package manager, apt:
sudo apt update
sudo apt install apache2
Adjust the Firewall to Allow Web Traffic
Next, assuming you've followed the initial server setup instructions and enabled the UFW firewall, make sure your firewall allows both HTTP and HTTPS traffic.
You can check that UFW has an application profile for Apache like this:
sudo ufw app listOutput
Available applications:
Apache
Apache Full
Apache Secure
OpenSSH
If you look at the Apache Full profile, it should show that it enables traffic to ports 80 and 443:
sudo ufw app info "Apache Full"Allow incoming HTTP and HTTPS traffic for this profile:
sudo ufw allow in "Apache Full"You can do a random check right away to verify that everything went as planned by visiting your server's public IP address in your web browser
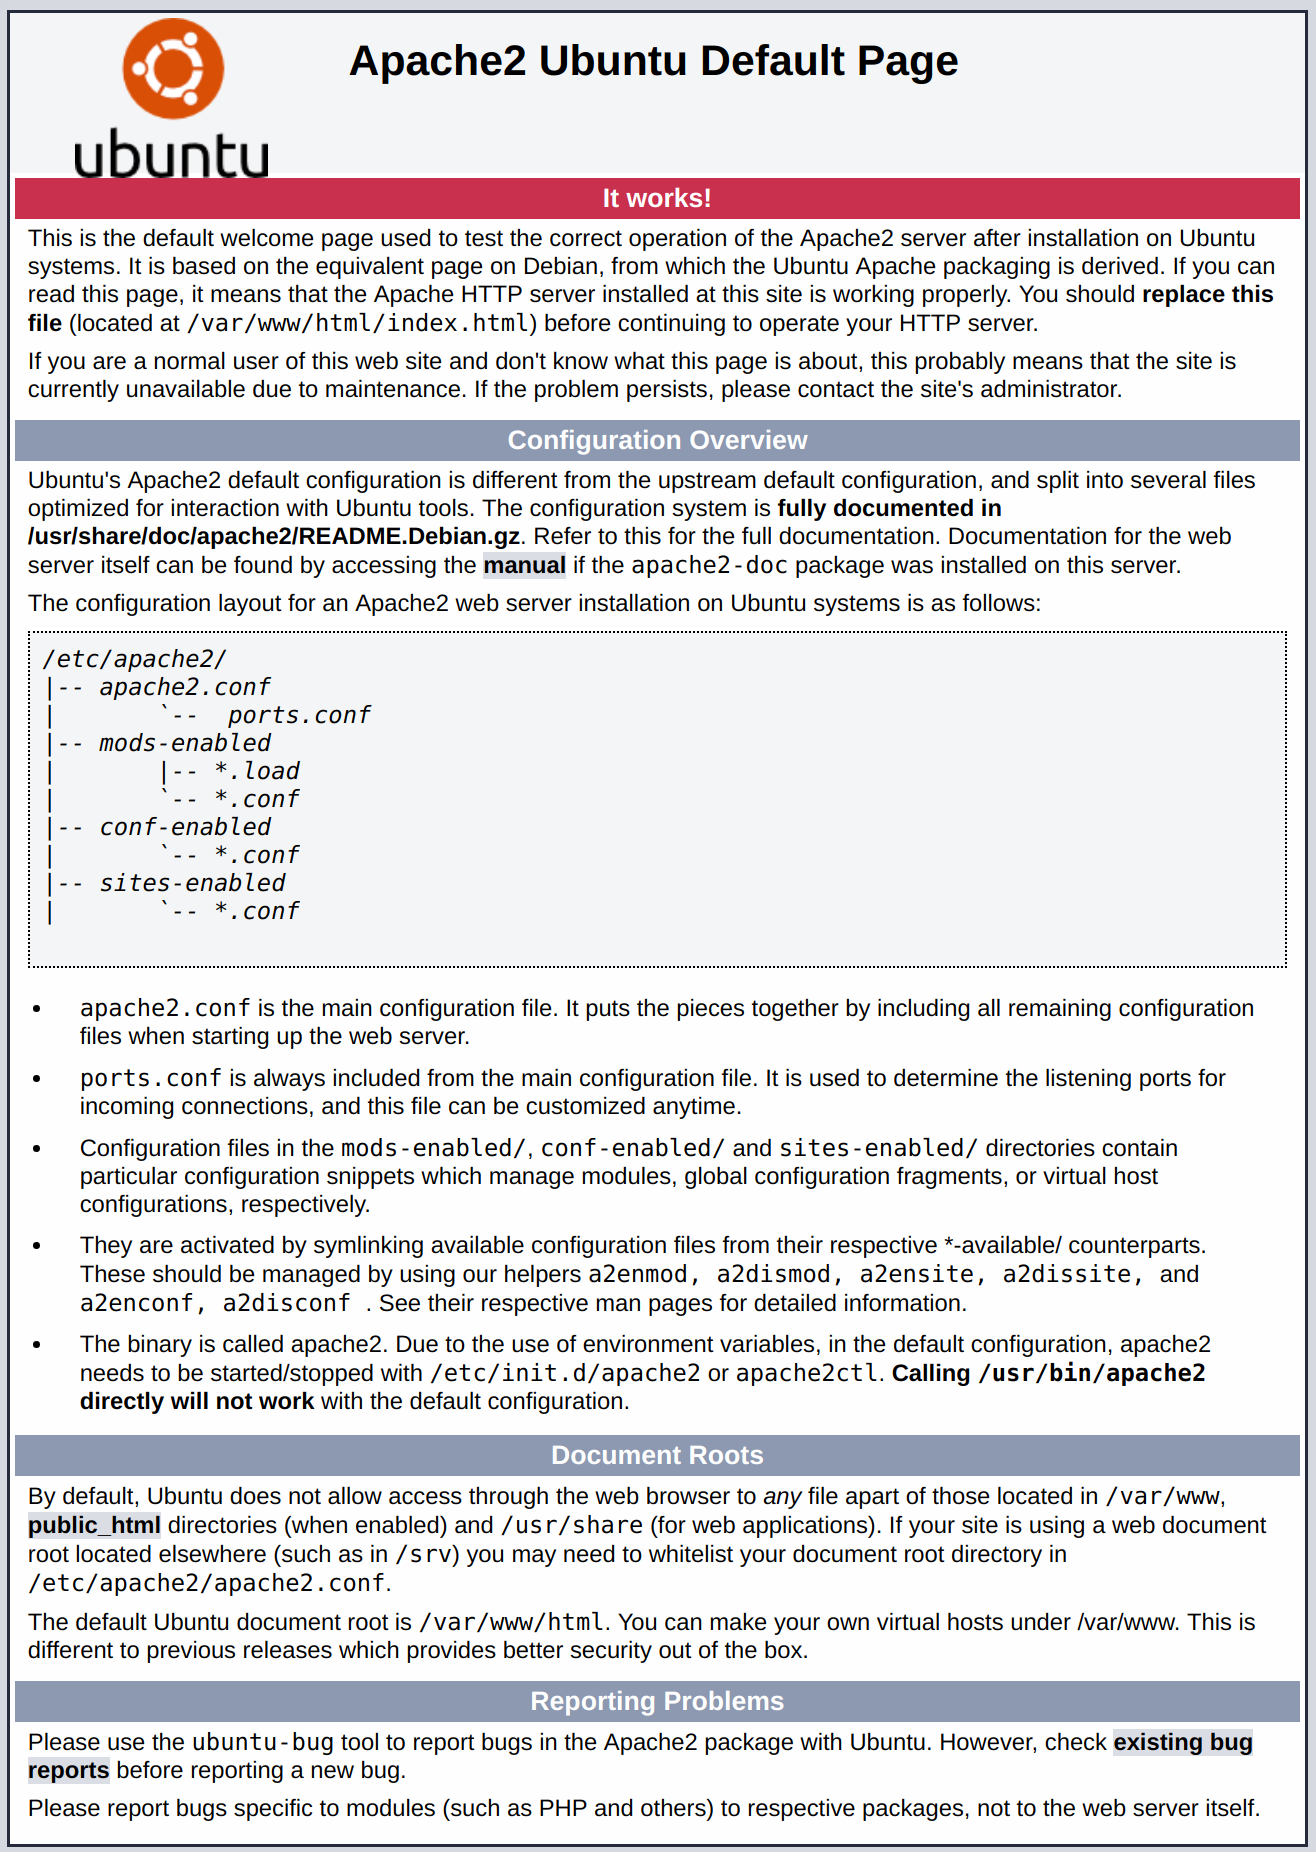
http://your_server_ipYou will see the following page

Step 2 — Installing MySQL
Again, use apt to acquire and install this software:
sudo apt install mysql-serverThis command will also show you a list of the packages that will be installed, along with the amount of disk space they will occupy. Enter Y to continue.
sudo mysql_secure_installationAnswer Y for yes, or anything else to continue without enabling.
If you prefer to use a password when connecting to MySQL as root, you will need to switch its authentication method from auth_socket to mysql_native_password. To do this, open up the MySQL prompt from your terminal:
sudo mysqlNext, check which authentication method each of your MySQL user accounts use with the following command:
SELECT user,authentication_string,plugin,host FROM mysql.user;
Output
+------------------+-------------------------------------------+-----------------------+-----------+
| user             | authentication_string                     | plugin                | host      |
+------------------+-------------------------------------------+-----------------------+-----------+
| root             |                                           | auth_socket           | localhost |
| mysql.session    | *THISISNOTAVALIDPASSWORDTHATCANBEUSEDHERE | mysql_native_password | localhost |
| mysql.sys        | *THISISNOTAVALIDPASSWORDTHATCANBEUSEDHERE | mysql_native_password | localhost |
| debian-sys-maint | *CC744277A401A7D25BE1CA89AFF17BF607F876FF | mysql_native_password | localhost |
+------------------+-------------------------------------------+-----------------------+-----------+
4 rows in set (0.00 sec)
n this example, you can see that the root user does in fact authenticate using the auth_socket plugin. To configure the root account to authenticate with a password, run the following ALTER USER command. Be sure to change password to a strong password of your choosing:
ALTER USER 'root'@'localhost' IDENTIFIED WITH mysql_native_password BY 'password';
Then, run FLUSH PRIVILEGES which tells the server to reload the grant tables and put your new changes into effect:
FLUSH PRIVILEGES;Check the authentication methods employed by each of your users again to confirm that root no longer authenticates using the auth_socket plugin:
SELECT user,authentication_string,plugin,host FROM mysql.user;Output
+------------------+-------------------------------------------+-----------------------+-----------+
| user | authentication_string | plugin | host |
+------------------+-------------------------------------------+-----------------------+-----------+
| root | *3636DACC8616D997782ADD0839F92C1571D6D78F | mysql_native_password | localhost |
| mysql.session | *THISISNOTAVALIDPASSWORDTHATCANBEUSEDHERE | mysql_native_password | localhost |
| mysql.sys | *THISISNOTAVALIDPASSWORDTHATCANBEUSEDHERE | mysql_native_password | localhost |
| debian-sys-maint | *CC744277A401A7D25BE1CA89AFF17BF607F876FF | mysql_native_password | localhost |
+------------------+-------------------------------------------+-----------------------+-----------+
4 rows in set (0.00 sec)You can see in this example output that the root MySQL user now authenticates using a password. Once you confirm this on your own server, you can exit the MySQL shell:
exitStep 3 — Installing PHP
PHP is the component of your setup that will process code to display dynamic content. It can run scripts, connect to your MySQL databases to get information, and hand the processed content over to your web server to display.
sudo apt install php libapache2-mod-php php-mysqlThis should install PHP without any problems. We’ll test this in a moment.
In most cases, you will want to modify the way that Apache serves files when a directory is requested. Currently, if a user requests a directory from the server, Apache will first look for a file called index.html. We want to tell the web server to prefer PHP files over others, so make Apache look for an index.php file first.
To do this, type this command to open the dir.conf file in a text editor with root privileges:
sudo nano /etc/apache2/mods-enabled/dir.confIt will look like this:
<IfModule mod_dir.c>
    DirectoryIndex index.html index.cgi index.pl index.php index.xhtml index.htm
</IfModule>
Move the PHP index file (highlighted above) to the first position after the DirectoryIndex specification, like this:
<IfModule mod_dir.c>
    DirectoryIndex index.php index.html index.cgi index.pl index.xhtml index.htm
</IfModule>
When you are finished, save and close the file by pressing CTRL+X. Confirm the save by typing Y and then hit ENTER to verify the file save location.
After this, restart the Apache web server in order for your changes to be recognized. Do this by typing this:
sudo systemctl restart apache2done!!