Introduction
While many users require the functionality of a database management system such as MySQL, they may not feel happy interacting with the system individually from the MySQL prompt.
phpMyAdmin was created so that users can interact with MySQL through a web interface. In this guide, we will discuss how to install and protect phpMyAdmin so that you can securely use it to control your databases on an Ubuntu 18.04 system.
Prerequisites
you’ve completed a LAMP (Linux, Apache, MySQL, and PHP) installation on your Ubuntu 18.04 server. First, we’ll assume that your server has a non-root user with sudo privileges, as well as a firewall configured with ufw.
Step 1 — Installing phpMyAdmin
This is done by updating your server’s package index and then using the apt packaging system to pull down the files and install them on your system:
sudo apt update
sudo apt install phpmyadmin php-mbstring php-gettext
This will ask you a few questions in order to configure your installation correctly.
- For the server selection, choose apache2
- Select Yes when asked whether to use dbconfig-common to set up the database
- You will then be asked to choose and confirm a MySQL application password for phpMyAdmin
The installation process adds the phpMyAdmin Apache configuration file into the /etc/apache2/conf-enabled/ directory, where it is read automatically. The only thing you need to do is explicitly enable the mbstring PHP extension, which you can do by typing:
sudo phpenmod mbstringAfterwards, restart Apache for your changes to be recognized:
sudo systemctl restart apache2Create symbolic link
sudo ln -s /etc/phpmyadmin/apache.conf /etc/apache2/conf-available/phpmyadmin.conf
sudo a2enconf phpmyadmin.conf
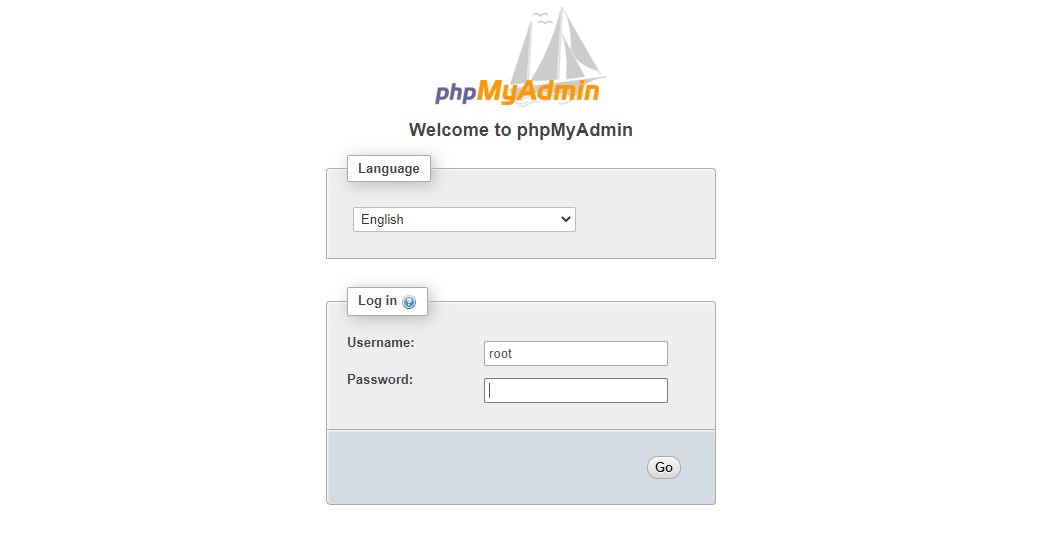
sudo service apache2 reloadphpMyAdmin is now installed and configured. However, before you can log in and begin interacting with your MySQL databases, you will need to ensure that your MySQL users have the privileges required for interacting with the program.
http://yourserver_ip/phpmyadmin